Hummus With Canned Chickpeas
Got canned chickpeas in your pantry? Then you’ve got hummus. Making hummus with canned chickpeas is incredibly easy and it’s ready in minutes. Perfect for dips, spreading on shawarma, or just scooped up with warm pita. Let me show you how!

If you know me, you know I lived in the Gulf countries for a decade – and hummus was everywhere, in everything. So when I moved to Canada, that kind of normalcy came with me. I know boiling your own chickpeas and making hummus from scratch is technically superior… but I’m a burnt-out mom, and with three kids, I need things fast.
Enter: my hummus with canned chickpeas. You honestly can’t tell the difference between this super quick version and the traditional one. Okay, maaaybe just a tad. But honestly? It still tastes so good – especially when you’re in a rush.
I always keep a couple of cans of chickpeas on hand – total life saver. My kids love hummus, especially with my chicken shawarma. It’s also perfect alongside other Middle Eastern flavours, in platters, or with whatever Mediterranean meal you’re pulling together.
Ingredients and Notes
*Scroll down for the recipe card with a full ingredient list and measurements.
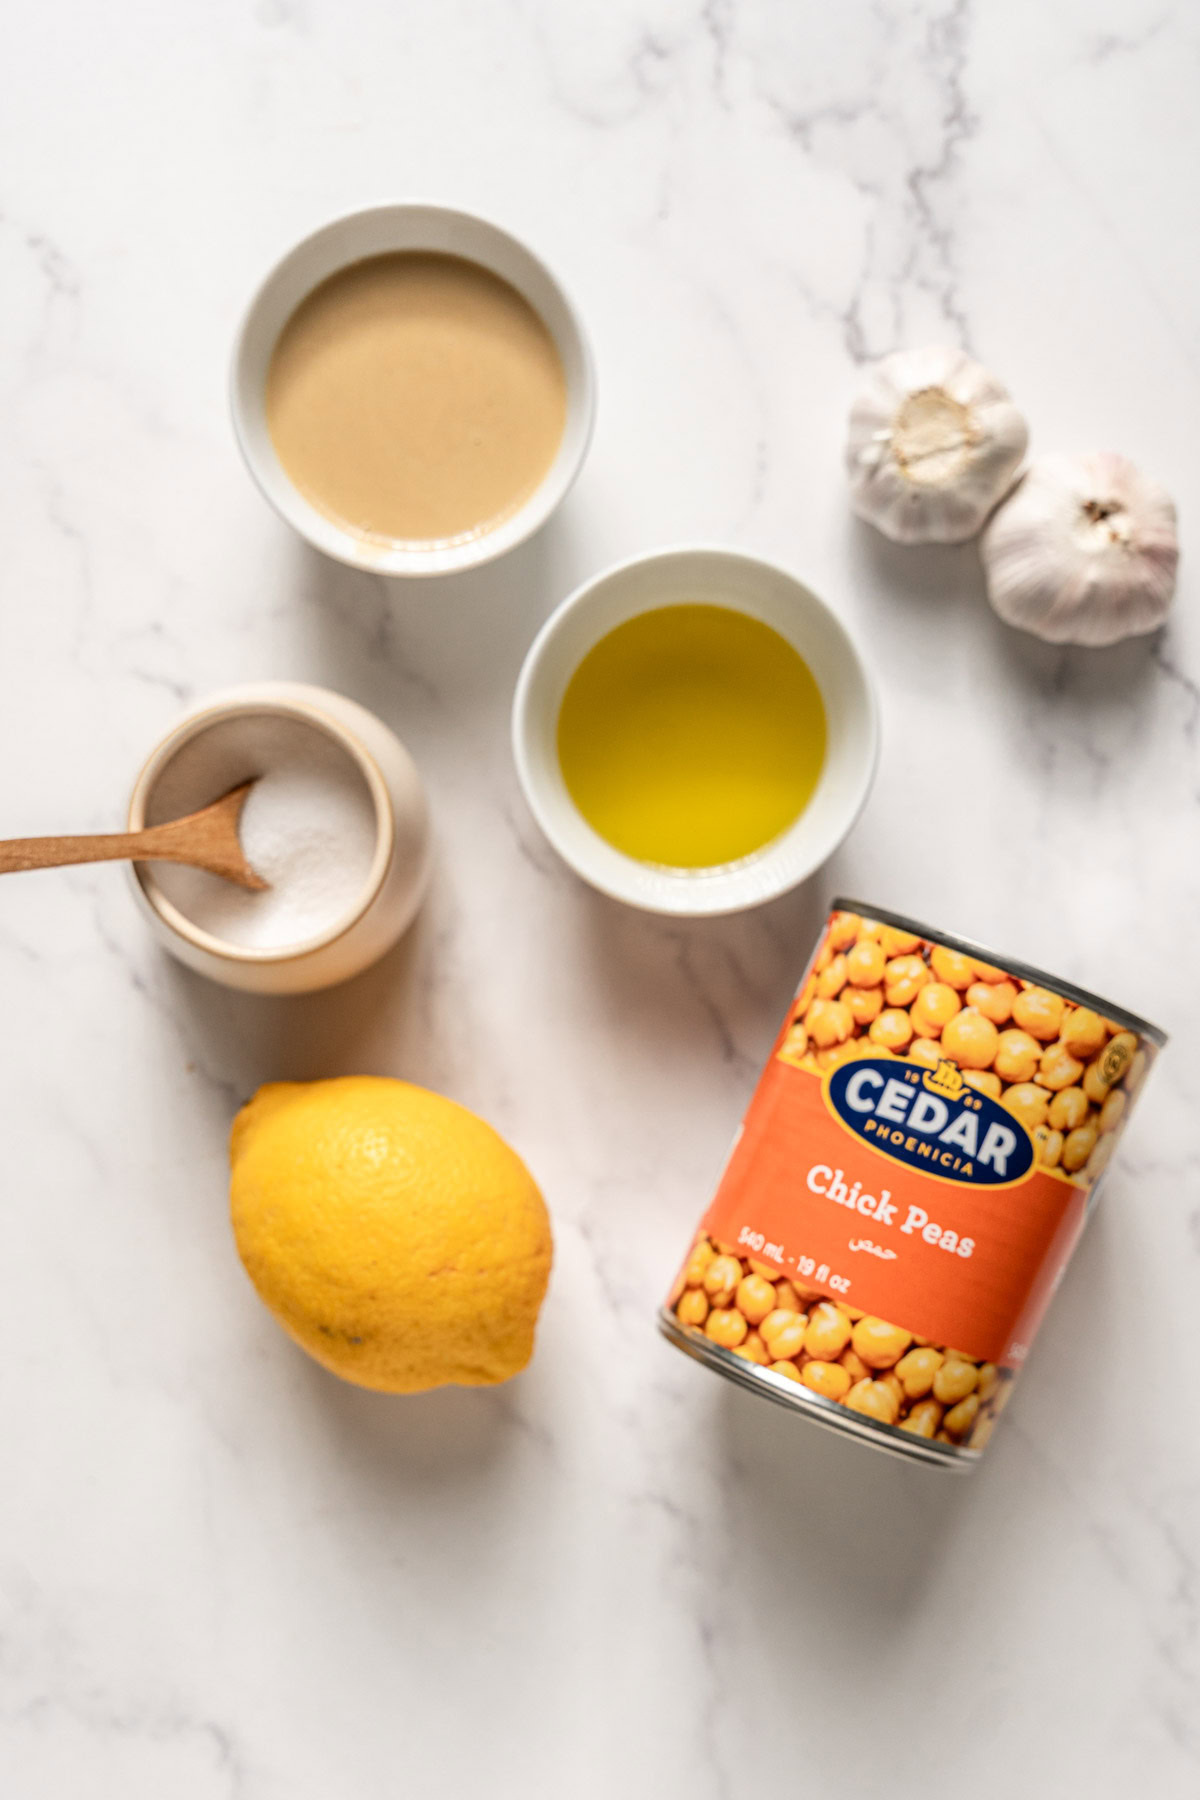
- Chickpeas: You want well‑cooked chickpeas: they should mush easily if you pinch them between your fingers. I’ve found that Middle Eastern brands tend to be better cooked. Try a few brands to pick your favourite.
- Olive oil: Extra-virgin is best for flavour.
- Tahini: Aim for good quality from a Middle Eastern store; it should not be bitter or chalky. If there’s thick residue or hard chunks at the bottom, it’s probably old.
- Garlic cloves: Raw, for that sharp, fresh kick.
- Lemon juice: Fresh or bottled. Doesn’t matter.
- Ice cubes: These help make the hummus extra creamy; a trick I picked up somewhere long ago. Doesn’t change flavour, just smooths it out.
How to Make Hummus With Canned Chickpeas
*Scroll down for the printable recipe card for a full list of ingredients and instructions.
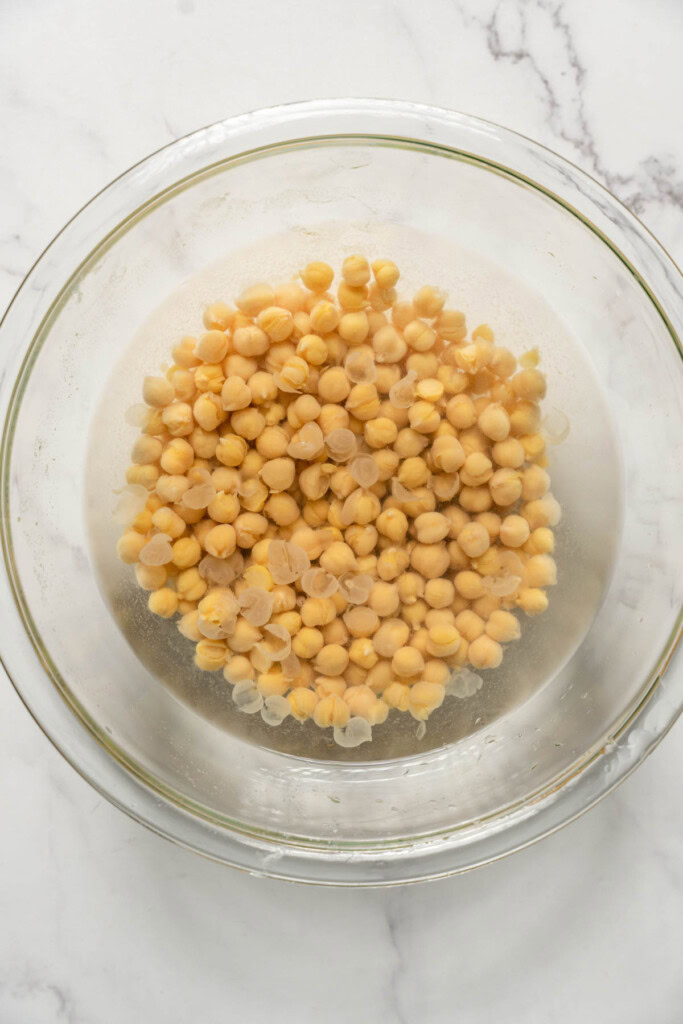


- Open the can and dump the chickpeas into a large bowl. Rinse them once or twice to remove the aquafaba or the chickpea water.
- Add water to the bowl. Gently massage the chickpeas to loosen/remove the skin. Don’t crush the chickpeas – you just want to rub them so skins start coming off.
- Pour the water (with skins) through a strainer to catch them. Repeat this process a couple of times until you’ve removed most of the skins(aim for about 75%). This step makes a big difference in smoothness.
- Once you’ve removed as much skin as you can, drain the chickpeas well.
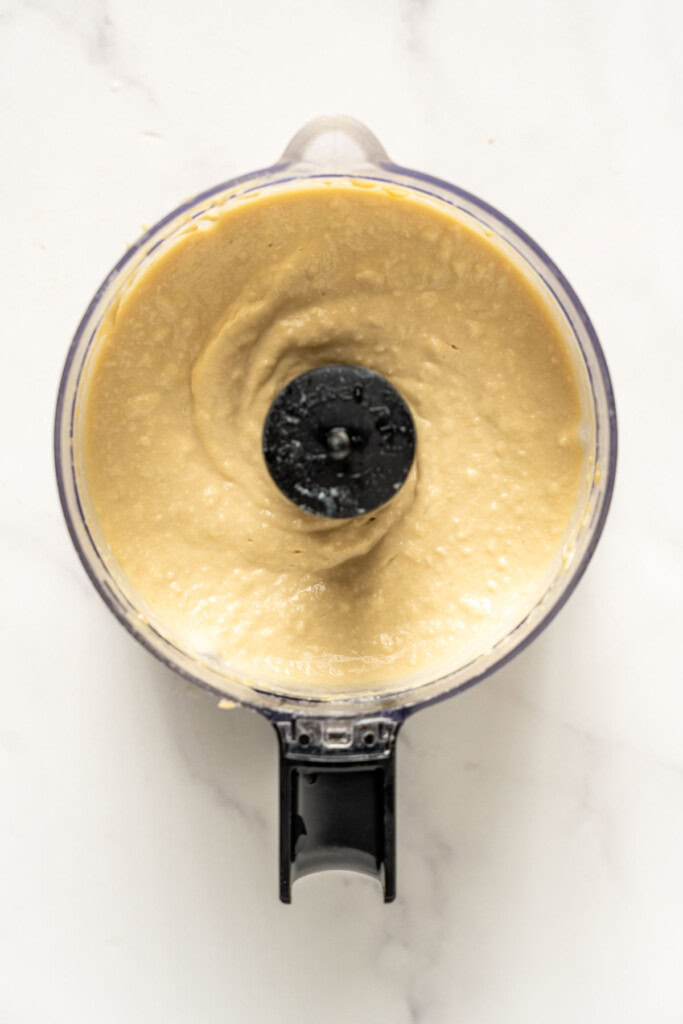
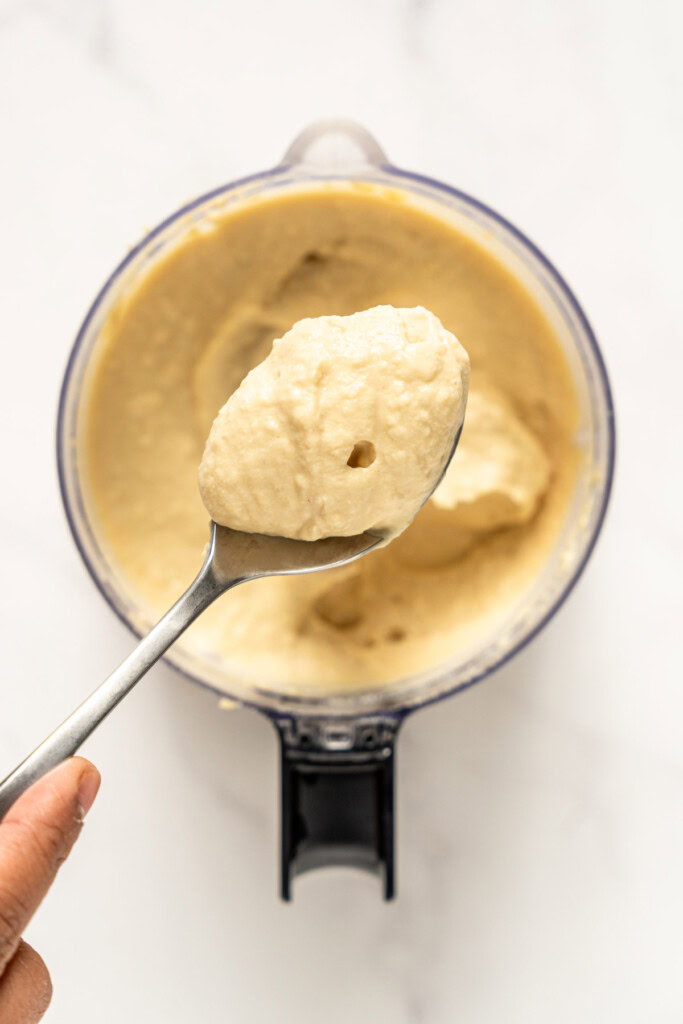
- Add the chickpeas + garlic cloves into your food processor. Give it a go (pulse/blend) to start breaking them down.
- Then add tahini, lemon juice, salt, olive oil, water, and the ice cubes. Process until very smooth and creamy.
- If needed, stop and scrape down the sides of the bowl to make sure everything is blending evenly. It often isn’t necessary if your processor’s good.
Recipe Tips
- Removing the skins is non-negotiable if you want super smooth hummus. Even though it adds some time, it’s worth it.
- Use fresh tahini – old tahini can taste bitter or chalky, which ruins the clean flavour.
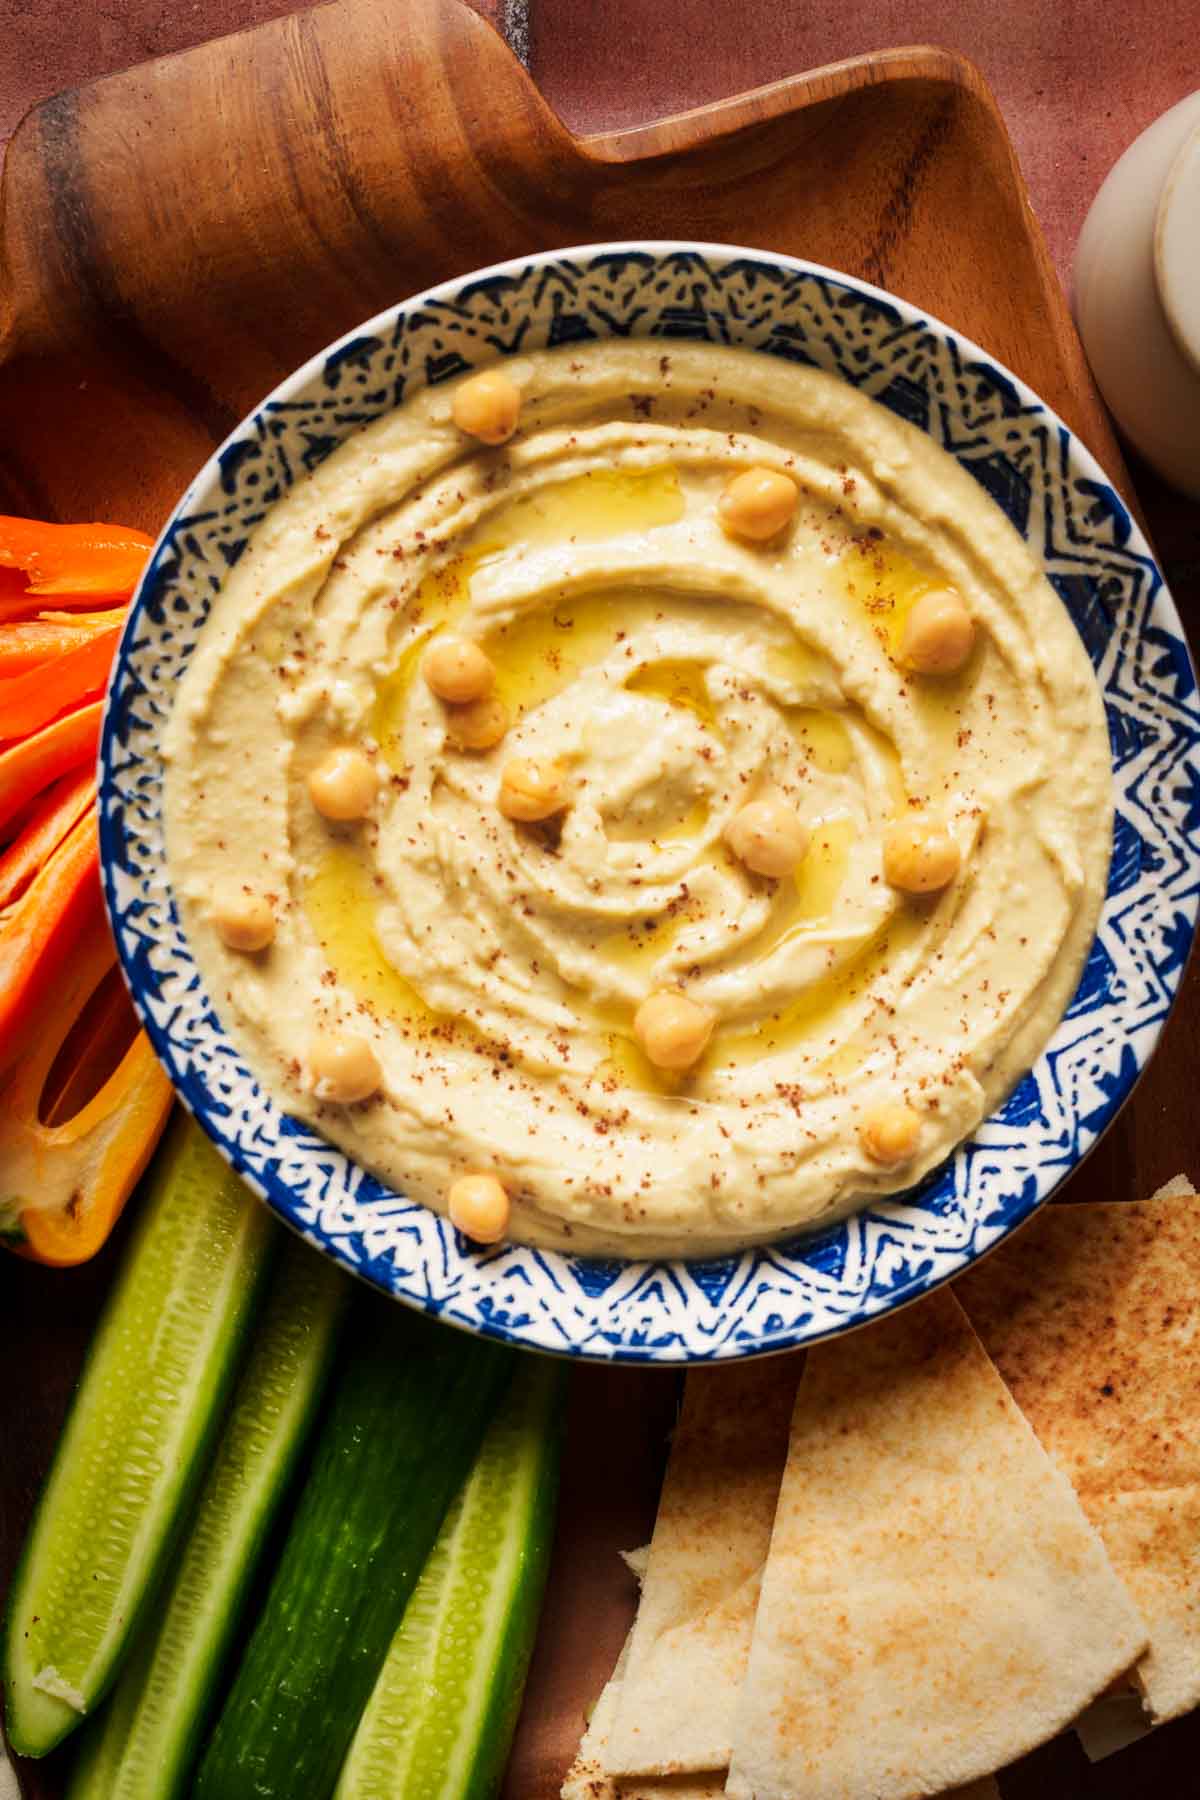
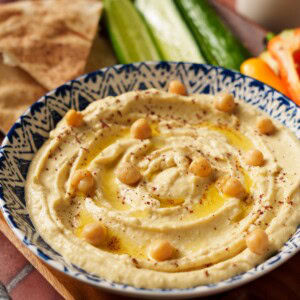
- Try adding a dusting of sumac on top when serving for colour and that lemony taste and a drizzle of olive oil.
Serving Suggestions
This hummus works with anything Mediterranean/Middle Eastern. Here are the ways we like it:
- As part of a spread with things like olives, baba ganoush, tabbouleh.
- Pita chips – Make them in the Air fryer for the quickest pita chips ever!
- In my air fryer chicken shawarma wraps or with oven roasted chicken shawarma.
- With veggies like cucumbers, carrots, mini bell peppers, and radishes as a dip.

FAQ
Stored in an airtight container, it stays good for about 3‑5 days. Stir in a little olive oil before sealing to keep the surface from drying out.
A high‑powered blender works, but you might blend a bit longer and scrape the sides more often. A mortar & pestle works too except it’s more labour‑intensive.
DID YOU MAKE IT? Please leave a comment and rating letting us know how you liked this recipe!
Recipe
Creamy Hummus with Canned Chickpeas
Equipment
- Food Processor
Ingredients
- 1 can chickpeas 540ml
- 3 tbsp olive oil
- 3 tbsp tahini
- 2 garlic cloves
- 1/2 tsp salt
- 3 tbsp lemon juice
- 3 tbsp water
- 2 ice cubes
Instructions
- Prepare the chickpeas: Open the can of chickpeas and drain them into a large bowl. Rinse once or twice to wash away the aquafaba (the chickpea water).
- Remove the skins: Fill the bowl with fresh water and gently massage the chickpeas with your fingertips to loosen the skins. Don’t crush the chickpeas- you just want to rub them lightly so the skins float off.
- Strain the skins: Pour the water (with the skins) through a strainer to catch them. Refill with fresh water and repeat the rubbing/straining process a couple of times, aiming to remove about 75% of the skins. Note: It doesn’t need to be perfect – leaving some skins is fine. But the more you remove, the silkier your hummus will be.
- Drain well: Once you’ve removed most of the skins, drain the chickpeas thoroughly.
- Blend: Transfer the chickpeas to a food processor along with the garlic cloves. Pulse a few times until the chickpeas break down into a coarse paste. Add the tahini, lemon juice, salt, olive oil, water, and ice cubes. Process on high until very smooth and creamy, about 2–3 minutes.
- Taste and adjust: Stop and scrape down the sides of the bowl if needed. Add more lemon for tang, or salt for flavour.
- Serve: Transfer to a bowl, drizzle with olive oil, and sprinkle with sumac, paprika, or chopped parsley if you like.
Notes
Nutrition